


If you’re planning a vacation, business trip, or weekend getaway, setting up a travel notice on your account can help prevent your legitimate purchases from being flagged as suspicious or fraudulent. Unusual transactions in unfamiliar locations may trigger fraud alerts, even if you’re the one making the purchase. A travel notice ensures uninterrupted access to your funds while keeping your account secure.
To Set Up a Travel Notice with Online Banking
Step 1: Log into your online banking account.
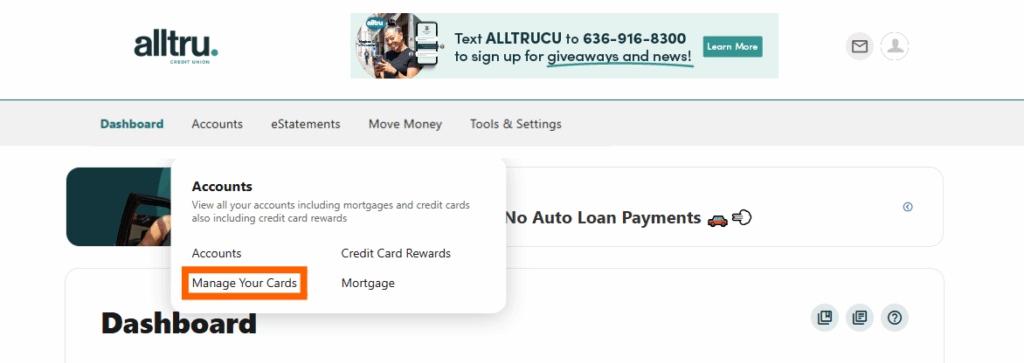
Step 2: Once in the dashboard, select Accounts, then select Manage Your Cards from the menu at the top.
Step 3: Hover over the card that you’d like to set up a Travel Notice for, and then click the green Manage card button.

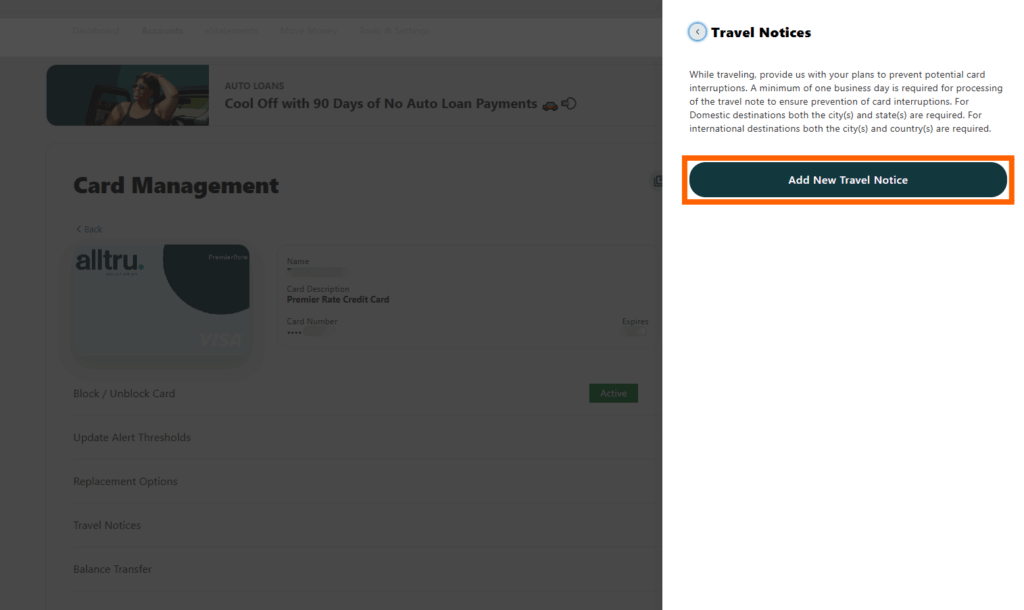
Step 4: On the next screen, scroll down to Travel Notices and click on the blue None Scheduled button.

Step 5: A new Travel Notices window will pop up where you will be able to add details about your upcoming trip including travel dates, whether it will be domestic or international travel, and your final destination.
Step 6: Once your Travel Notice has been added, you will now see a blue box saying 1 Scheduled on the Card Management screen.

To Set Up a Travel Notice with Mobile Banking
Step 1: Open the Alltru CU App.
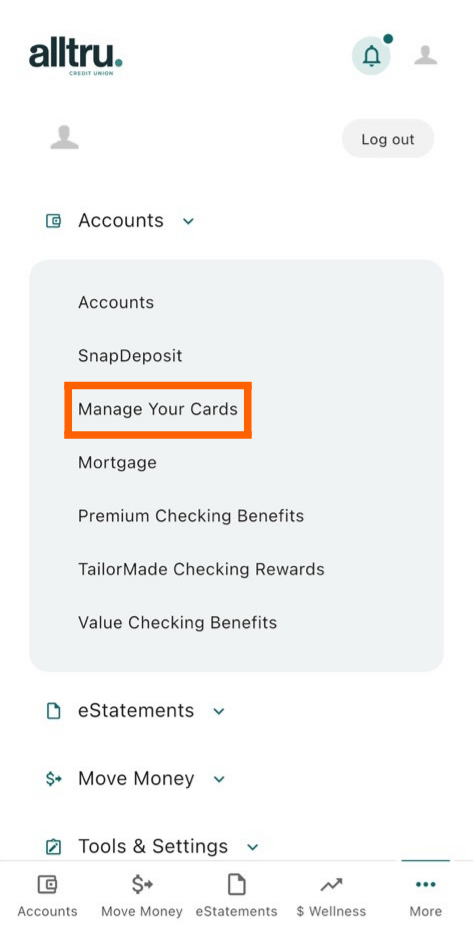
Step 2: Click on More on the bottom right of your app, select Accounts, then Manage Your Cards.
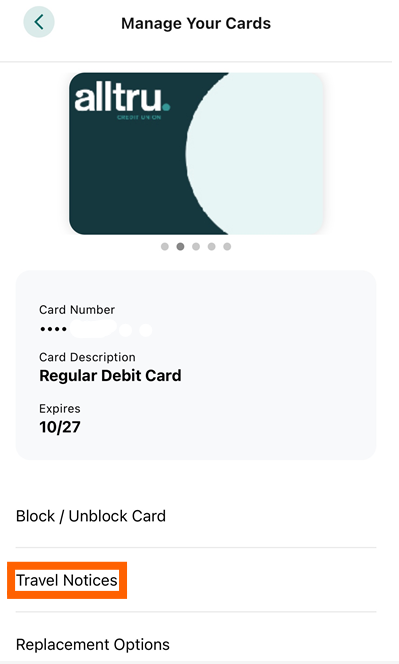
Step 3: Find the appropriate card from your list of cards connected to your account. Then select Travel Notices.
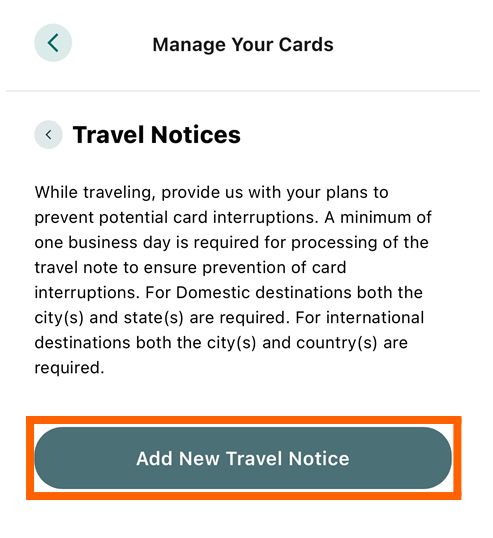
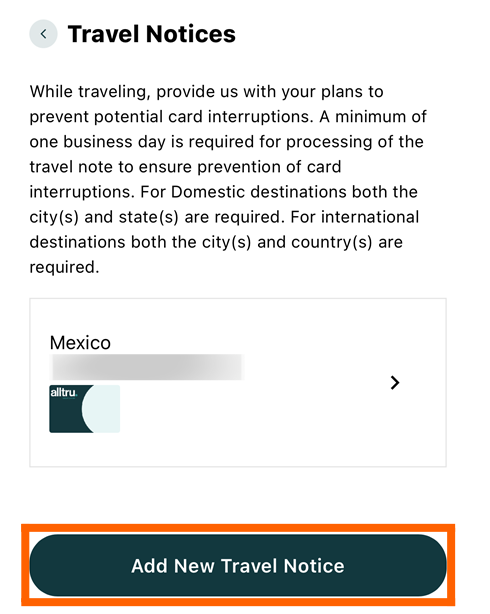
Step 4: Select the Add New Travel Notice button.
Step 5: Enter your travel Start Date and End Date by clicking the calendar icon, and chose whether your Destination is Domestic or International.
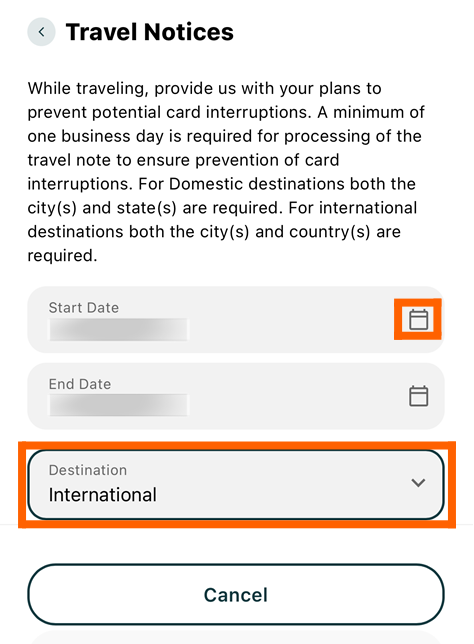
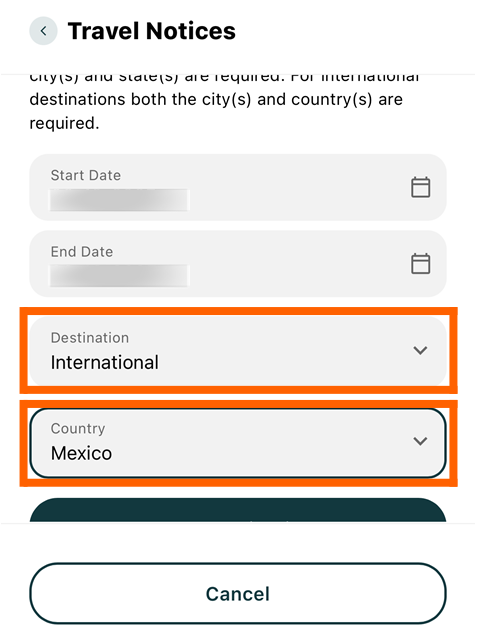
Step 6: If your Destination is Domestic, you will be asked to enter your city and state. If your Destination is International, you will be asked to enter your city and country.
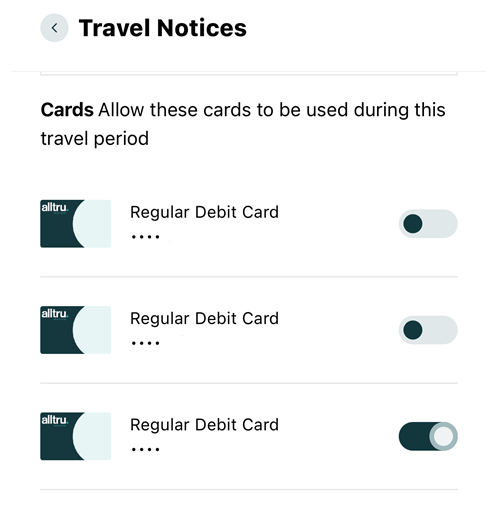
Step 7: Confirm which card(s) you will use during your travel period by toggling the icons on and off.
Step 8: Review the details of your Travel Notice. Then click the Add New Travel Notice button.
Now that your Travel Notice is set, you are ready to embark on your journey. Have fun!